
Dead Phone Repair: Complete Power Section Diagnosis Guide
Understanding the power section and following a systematic fault-finding process can help technicians quickly identify and repair dead phone issues.
What is a Dead Phone?
A dead phone is a device that shows no sign of life when the power button is pressed.
Common Symptoms
- No power ON
- No charging indication
- No vibration
- No display
- No boot logo
- No current consumption on DC power supply
Tools Required
- Digital Multimeter
- DC Power Supply
- Soldering Station
- Hot Air Rework Station
- Microscope
- Schematic Software
- Thermal Camera (Optional)
Step 1: Visual Inspection
Before taking measurements:
- Check for water damage
- Check broken components
- Inspect connectors
- Check for corrosion
- Inspect CPU and PMIC area
Many dead phone issues can be identified through visual inspection alone.
Step 2: Check Battery Voltage
Measure battery voltage.
Normal Battery Voltage:
- 3.7V to 4.4V
If battery voltage is below 3V:
- Charge externally
- Replace battery if required
Step 3: Check VBAT Line
VBAT is the primary battery voltage line.
Check:
- Battery connector voltage
- Continuity of VBAT path
- Short circuit on VBAT line
If VBAT is missing, the phone will remain completely dead.
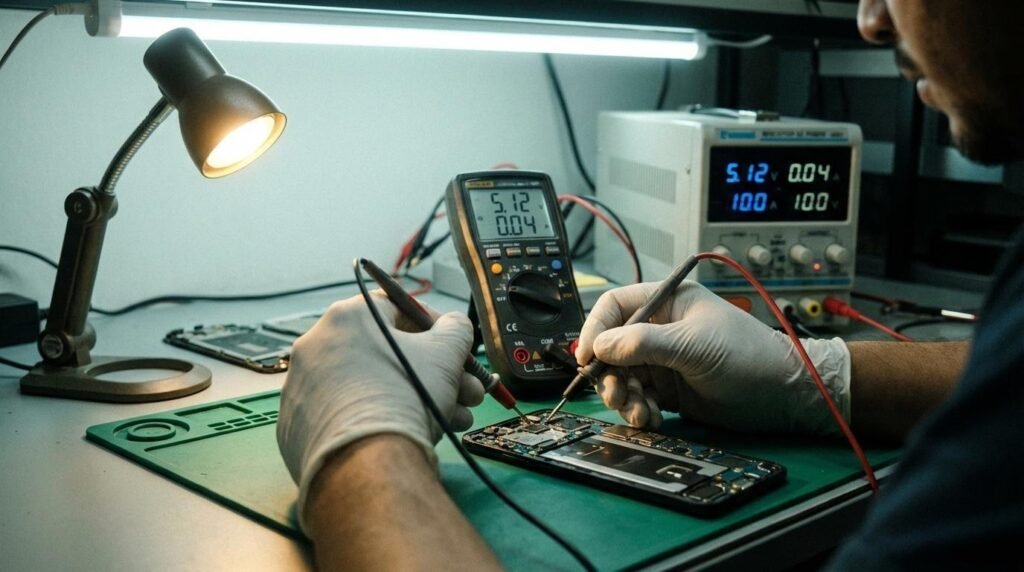
Step 4: Check Current Consumption
Connect the motherboard to a DC Power Supply.
Observe current consumption:
No Current (0.00A)
Possible causes:
- Open VBAT line
- Faulty PMIC
- Broken Power Key Circuit
Fixed Current
Possible causes:
- Short circuit
- PMIC fault
- CPU fault
Boot Current Then Stop
Possible causes:
- Software corruption
- eMMC/UFS issue
- CPU communication problem
Step 5: Check Power Key Circuit
Measure voltage on Power Key line.
Check:
- Power button condition
- Power key resistor
- PMIC trigger voltage
A faulty power key circuit can prevent startup.
Step 6: Check PMIC
PMIC (Power Management IC) distributes power to all sections of the motherboard.
Symptoms of PMIC Fault:
- Dead phone
- Heating near PMIC
- No power sequence
- No output voltages
Measure PMIC output voltages according to the schematic.
Step 7: Check Short Circuit
Use Multimeter in Diode Mode.
Check:
- VBAT line
- VPH_PWR line
- Main power rails
Low resistance indicates a possible short circuit.
Use IPA alcohol or thermal camera to locate the heating component.
Step 8: Check Crystal Oscillator
A damaged crystal can stop the CPU from starting.
Inspect:
- 26MHz crystal
- RTC crystal
- Clock generation circuit
Step 9: Check CPU Power Sequence
Advanced technicians should verify:
- PMIC Enable Signals
- RESET Signal
- CLK Signal
- CPU Core Voltage
If the power sequence is missing, further diagnosis is required.
Step 10: Check eMMC/UFS
A damaged storage IC can cause a dead boot condition.
Symptoms:
- Current consumption but no boot
- Stuck on logo
- Rebooting
- Dead after flashing
Test using UFI, Easy JTAG, or F64 Ultra.
Dead Phone Fault Finding Flowchart
Battery → VBAT → Power Key → PMIC → Power Rails → Crystal → CPU → eMMC/UFS → Software
Always follow this sequence to avoid unnecessary IC replacement.
Professional Tips
- Never replace CPU first.
- Measure voltages before removing components.
- Check for short circuits before powering the board.
- Use schematic diagrams whenever available.
- Record all voltage measurements.
Conclusion
Dead phone repair requires a logical approach and proper understanding of the power section. By checking battery voltage, VBAT line, PMIC outputs, short circuits, CPU power sequence, and storage ICs, technicians can accurately diagnose and repair most dead phone faults.
Mastering power section diagnosis is one of the most important skills for professional mobile repair technicians.
visit our website for more update – About us https://techgurugsm.in/%f0%9f%9a%80-latest-batch-admission-open-july-2026-guwahati/
